You bought a stainless steel pan because you heard it was what real cooks use. You heated it up, added some oil, dropped in a chicken breast, and watched it cement itself to the surface like it was welded there. You scraped, you fought, you ended up with a mangled piece of chicken and a pan crusted with brown residue. Now you’re wondering if you got scammed.
You didn’t. The pan works fine. The problem is that stainless steel requires a specific technique that nobody explains clearly, and it’s different from everything you’ve learned cooking on non-stick.
The Actual Reason Food Sticks
Stainless steel has a microscopically rough surface. When you put cold or room-temperature food on a hot stainless pan, the proteins in the food bond to those microscopic imperfections. That’s the sticking. It’s not a defect. It’s physics.
The fix is temperature. When stainless steel gets hot enough, the metal expands and those microscopic pores close up. The surface becomes effectively smoother. Add oil to the hot pan, and the oil fills whatever gaps remain. Now you have a barrier between the food and the metal.
This is why chefs can cook eggs on stainless steel and have them slide around. It’s not magic. It’s heat management.
The Mercury Ball Test
Here’s the technique, step by step:
- Put your empty pan on medium heat. Not high. Medium. Wait two to three minutes.
- Flick a few drops of water into the pan. If the water sizzles and evaporates, the pan isn’t hot enough yet. If the water forms a single ball that rolls around the surface like mercury, you’re at the right temperature. This is called the Leidenfrost effect.
- Add your oil. It should shimmer immediately and flow easily across the pan. If it smokes instantly, your pan is too hot. Pull it off the heat for thirty seconds and try again.
- Add your food. Don’t touch it. This is the hard part. Let it sit. The food will stick initially, and then it will release on its own once a crust forms. If you try to flip a piece of chicken after one minute and it won’t move, it’s not ready. Wait another minute. When it’s ready, it’ll let go.
That’s it. That’s the whole secret. Heat the pan, wait for the mercury ball, add oil, add food, don’t touch it.
The Pan Matters Less Than You Think
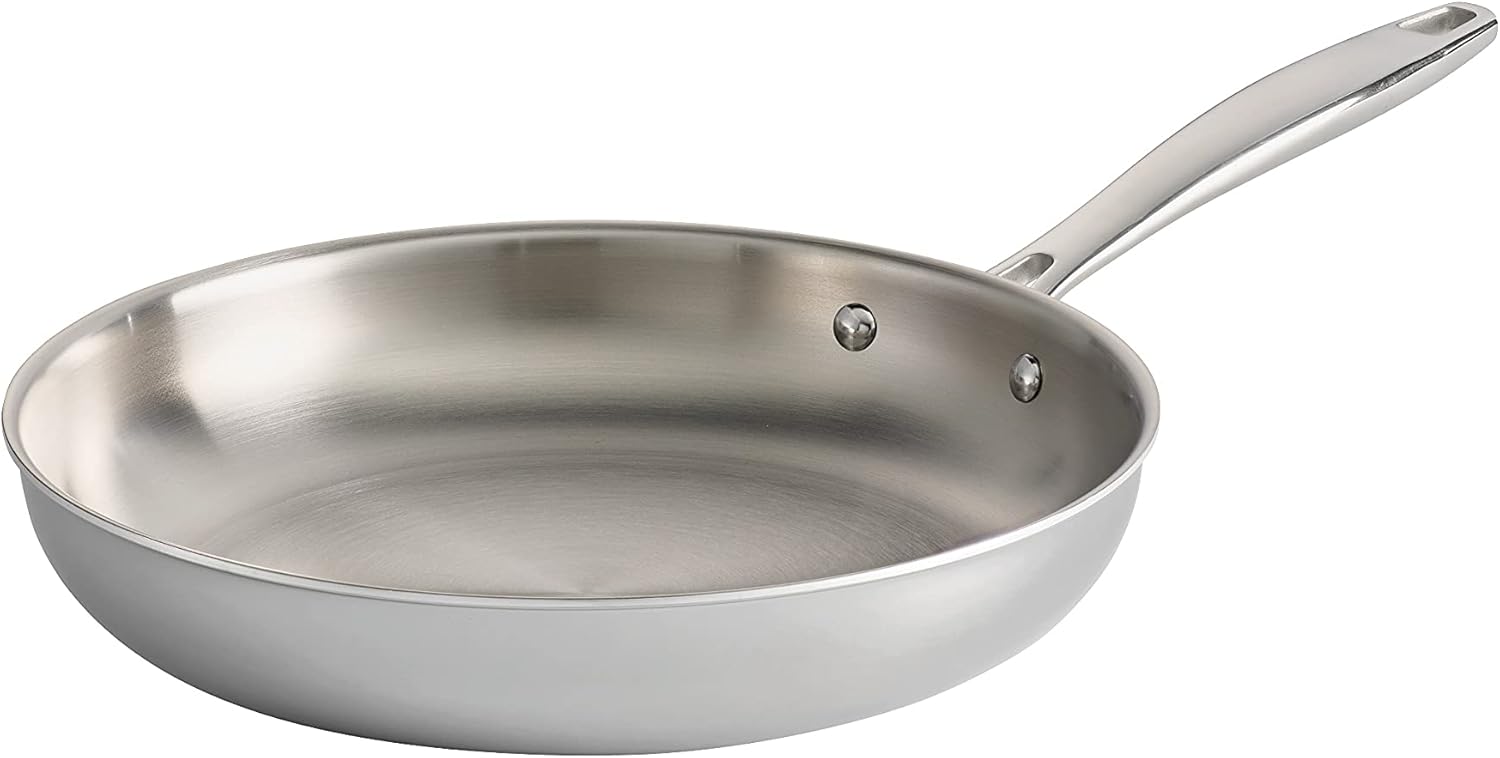
People spend a lot of energy debating whether they need a $150 All-Clad or whether a $30 Tramontina will do the job. The honest answer: for most home cooking, the technique matters ten times more than the pan.
The Tramontina Tri-Ply Clad 10-Inch Stainless Steel Fry Pan costs around $25 to $30 and is fully clad tri-ply construction. That means the aluminum core runs all the way up the sides, not just the bottom. This gives you even heat distribution, which is the only spec that actually matters for preventing hot spots and sticking.
The All-Clad D3 Stainless 12-Inch Fry Pan is the gold standard and costs around $130. Is it better? Yes. The construction is slightly more refined, the handle is more comfortable, and the heat distribution is marginally more even. Is it five times better? No. Not even close.
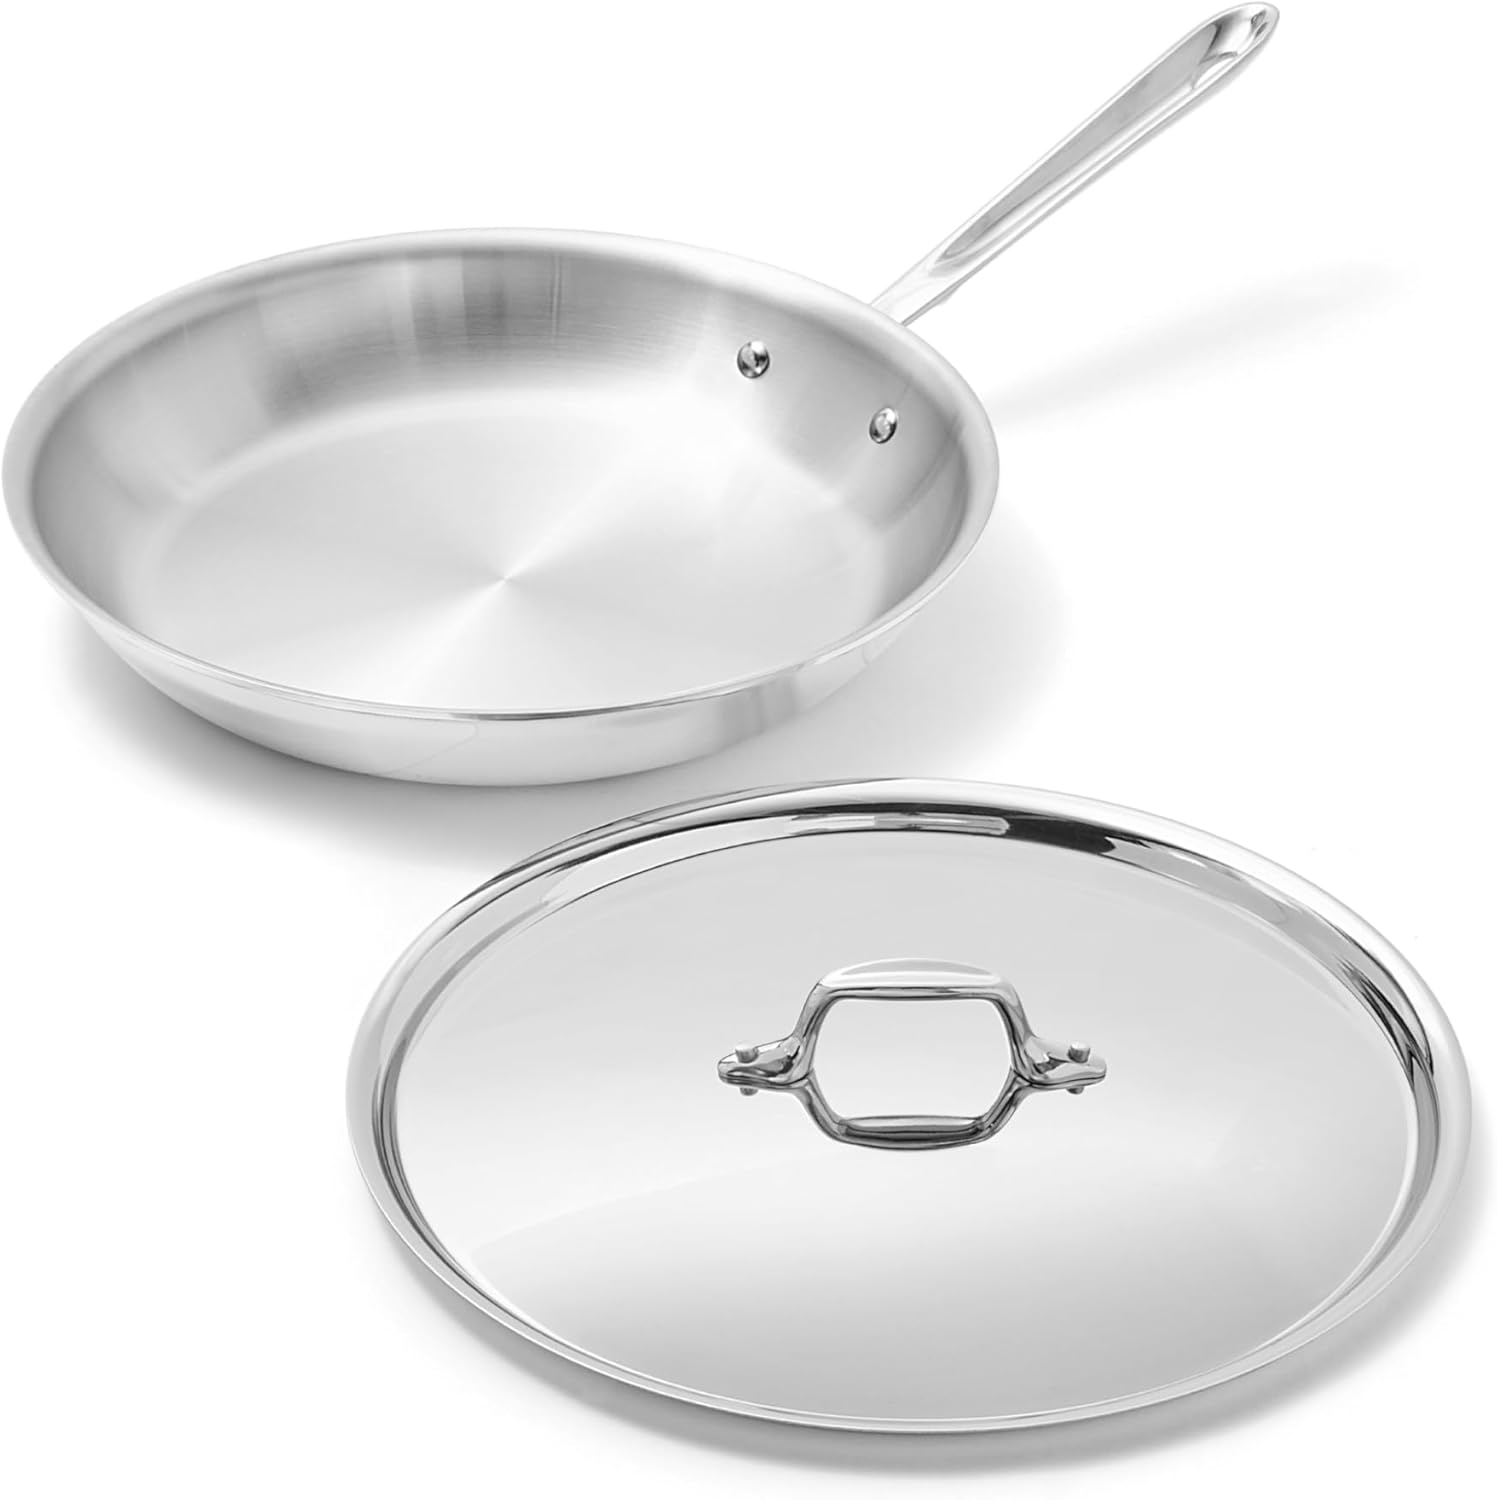
If you’re starting out with stainless steel, get the Tramontina. Learn the technique. If you find yourself cooking on stainless daily and wanting something that feels premium in your hand, upgrade to All-Clad later. But the food doesn’t know which brand it’s cooking on.
Common Mistakes That Cause Sticking
Starting with a cold pan. This is the number one mistake. If you add oil to a cold pan and then heat everything together, the oil seeps into those microscopic pores and gets trapped. When you add food, it sticks to both the metal and the trapped oil. Always heat the pan first, then add oil.
Using too much heat. High heat on stainless steel burns oil and food before a proper crust can form. Medium to medium-high is the range you want for almost everything. Searing a steak is the one exception where you might push to high heat, and even then, you want the pan preheated properly first.
Moving the food too early. When meat hits the pan, it sticks. That’s normal. The proteins are bonding to the surface. As the Maillard reaction progresses and a crust forms, the meat releases naturally. If you force it, you tear the crust off and leave it on the pan. Patience fixes this.
Overcrowding. Too much food drops the pan temperature and creates steam instead of a sear. Steam means no crust, which means sticking. Cook in batches if you need to.
Not enough fat. You don’t need to deep-fry, but stainless steel needs a proper coating of oil. A thin film across the entire cooking surface. If you can see dry spots, you need more.
The Brown Stuff on the Bottom Is Good
Those brown bits stuck to the pan after cooking? That’s called fond, and it’s concentrated flavor. Pour in some wine, broth, or even water while the pan is still hot, scrape the bits up with a wooden spoon, and you have a pan sauce in about two minutes. This is one of the main reasons chefs prefer stainless steel over non-stick. Non-stick doesn’t develop fond.
If you’re just throwing that stuff away and scrubbing the pan clean every time, you’re leaving the best part of the meal in the sink.
Is Stainless Steel Worth the Learning Curve?
If you only cook eggs and pancakes, probably not. Keep a non-stick for that. But for searing meat, building sauces, cooking vegetables with actual color, and anything where you want browning and caramelization, stainless steel is better than non-stick in every way.
The learning curve is real but short. Give yourself five or six meals using the mercury ball technique, and the sticking problem essentially disappears. Most people give up after one or two bad experiences, switch back to non-stick, and never discover what they’re missing.
The pan isn’t the problem. It never was.